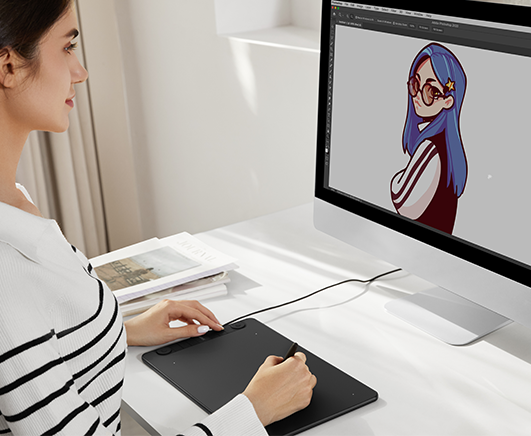
Drawing a person can seem like a daunting task for beginners, but with a little guidance and the right techniques, you can bring your characters to life! Whether you're just starting out or looking to refine your skills, this step-by-step guide will help you draw a person from scratch, using simple shapes and easy methods. With the right tools at your disposal, your digital art journey will be smooth and fun.
Step 1: Start with Basic Shapes
Begin your drawing by sketching simple shapes to lay out the structure of the body. Draw an oval for the head, and use rectangles or lines for the torso, arms, and legs. These simple shapes serve as the foundation of your figure, helping you keep proportions accurate as you build on them.
- Tip: It’s important to focus on the posture of your character. A slight tilt of the head or an arm in a particular position can instantly make your drawing more dynamic!
Step 2: Add Facial Guidelines
Once you’ve drawn the basic shapes, it’s time to define the head. Draw a vertical line down the middle of the oval and a horizontal line halfway through the head to help place the eyes, nose, and mouth. These lines act as a guide to keep your features symmetrical.
- Tip: The eyes usually sit halfway down the face, while the nose is about halfway between the eyes and chin. Keep these proportions in mind as you sketch.
Step 3: Draw the Body and Limbs
Next, sketch the outline of the body. Start with the torso, using straight or slightly curved lines to create the upper body. Then move on to the arms and legs, focusing on proportion. A good rule of thumb is that the body is about 7 to 8 heads tall, so use this as a reference to avoid making your limbs too long or short.
- Tip: Pay attention to the joints, as these are where most of the movement occurs. The elbows and knees should align roughly with the midline of the body.
Step 4: Define the Details
With the basic structure in place, it’s time to refine your drawing. Add details like facial features, clothing, and hair. For the face, start by shaping the eyes, nose, and mouth. For the body, add details like clothing folds, fingers, and toes. Don’t forget about the small details—these will bring your character to life.
- Tip: Use light lines at first so you can easily erase and adjust. Once you’re happy with the shape, go over it with darker, more defined lines.
Step 5: Add Shading and Texture
Shading brings depth to your drawing. Add light shading to the areas where shadows would naturally fall, such as under the chin, the sides of the torso, and beneath the arms. You can use soft, gradual strokes to build up the shadows, making your character look three-dimensional.
- Tip: Keep the light source in mind when shading—decide where the light is coming from (e.g., from above or the side) and make sure the shadows follow this direction.
Step 6: Final Touches and Coloring
Once the shading is done, it's time to add color. Start with flat color fills for the skin, hair, and clothing. Then, gradually layer on additional colors for shadows and highlights to add dimension. Don’t forget to add small details like the glint in the eyes or texture on the clothing.
- Tip: Use separate layers for each element (e.g., skin, hair, clothing) so you can easily adjust colors without affecting the other parts of the drawing.
Conclusion
Drawing a person may seem challenging at first, but with practice and patience, you’ll improve quickly. The key is to break down the process into manageable steps, starting with basic shapes and refining the details as you go.
To help you create digital art with ease, tools like the Veikk Studio 16 and VK1200 tablets offer responsive screens and precision pens, perfect for beginners and experienced artists alike. Whether you’re drawing on a large screen or a more portable tablet, these devices ensure a smooth, enjoyable drawing experience, helping you bring your creative ideas to life!

 English
 English (UK)
 Deutschland
 España
 France
 Europe
 India(EN)
 ไทย
ไทย
 Indonisia
 Vietnam
 Philippines
 Southeast Asia
 日本(JP)
 대한민국
대한민국


.png?v=1666149643)
